· ARUM Team · LED Knowledge
How to Install LED Strips Yourself — Complete DIY Guide for Beginners
A step-by-step guide to installing LED strips from scratch — equipment checklist, measuring, cutting, wiring, and powering up. Easy enough for first-timers.
You Can Install LED Strips Without Hiring an Electrician
Many people assume that LED strip installation requires a professional. In reality, with the right equipment and a clear plan, it is a straightforward DIY project anyone can complete.
This guide walks you through the entire process from start to finish, step by step — even if this is your first time.
Equipment Checklist
Before you begin, gather everything you need.
Core Equipment
- LED Strip — choose the right type for your project, e.g. COB LED Strip 480C 24V
- Power Supply (PSU) — must match the voltage of your strip, e.g. ARUM Hyper Switching Power Supply 24V
- Controller / Dimmer — if you want to dim or change colour, e.g. a Rotary Dimmer Knob or App Controller
Recommended Accessories
- Aluminium Profile Channel — manages heat and gives a clean, professional finish, e.g. Flanged Aluminium Profile
- Connectors — for corners and joins, e.g. Corner Connector or Wire Connector
- Wire — AWG Wire for extended cable runs
- LED Cove Moulding — LED Molding if you are creating an indirect ceiling cove
Tools
- Scissors (for cutting the strip)
- Tape measure
- Clean cloth + isopropyl alcohol (for surface preparation)
- Screwdriver
- Soldering iron (optional but recommended for permanent joints)
Step 1: Plan and Measure
Before buying anything, always measure first.
- Measure the total length of the run using a tape measure along the exact path you plan to install.
- Sketch a rough layout showing the route, corners, and where the power supply will sit.
- Calculate your power requirement — check the wattage per metre of your strip, multiply by the total length, then add 20% headroom for your power supply rating.
Example: Strip rated 10 W/m × 8 metres = 80 W → use a power supply rated at least 96 W (80 W + 20%).
Step 2: Prepare the Surface
The installation surface must be clean, dry, and smooth.
- Wipe the surface with an isopropyl-alcohol-dampened cloth.
- Allow to dry completely.
- For rough or textured surfaces (bare wood, uneven walls), mount an Aluminium Profile Channel first, then attach the strip inside the channel.
Pro Tip: Using an aluminium profile keeps the strip cool, significantly extending its lifespan, and gives a clean, professional appearance.
Step 3: Cut the LED Strip to Length
LED strips can be cut — but only at the designated cut marks.
- Look for the scissor symbol or cut line printed on the strip.
- Use sharp scissors and cut cleanly through the centre of the cut mark.
- Always cut straight, never at an angle.
Important: Cutting at the wrong point will disable the LEDs in that section. Double-check the cut mark before every cut.
Step 4: Wire the Connections
There are two main methods for connecting your strip:
Method 1: Snap-on Connectors — Easiest Option
Use a COB LED Strip Middle Connector or Wire Connector — simply clip onto the strip, no soldering needed. Ideal for beginners.
For 90° corners, use a Corner Connector.
Method 2: Soldering — Most Reliable
If you have a soldering iron, this method creates the strongest, most conductive joints.
- Strip approximately 5 mm of insulation from the wire.
- Tin the copper pads on the strip with a small amount of solder.
- Solder the wire to the copper pad.
- Do not hold heat on the joint for too long — excessive heat damages the LEDs.
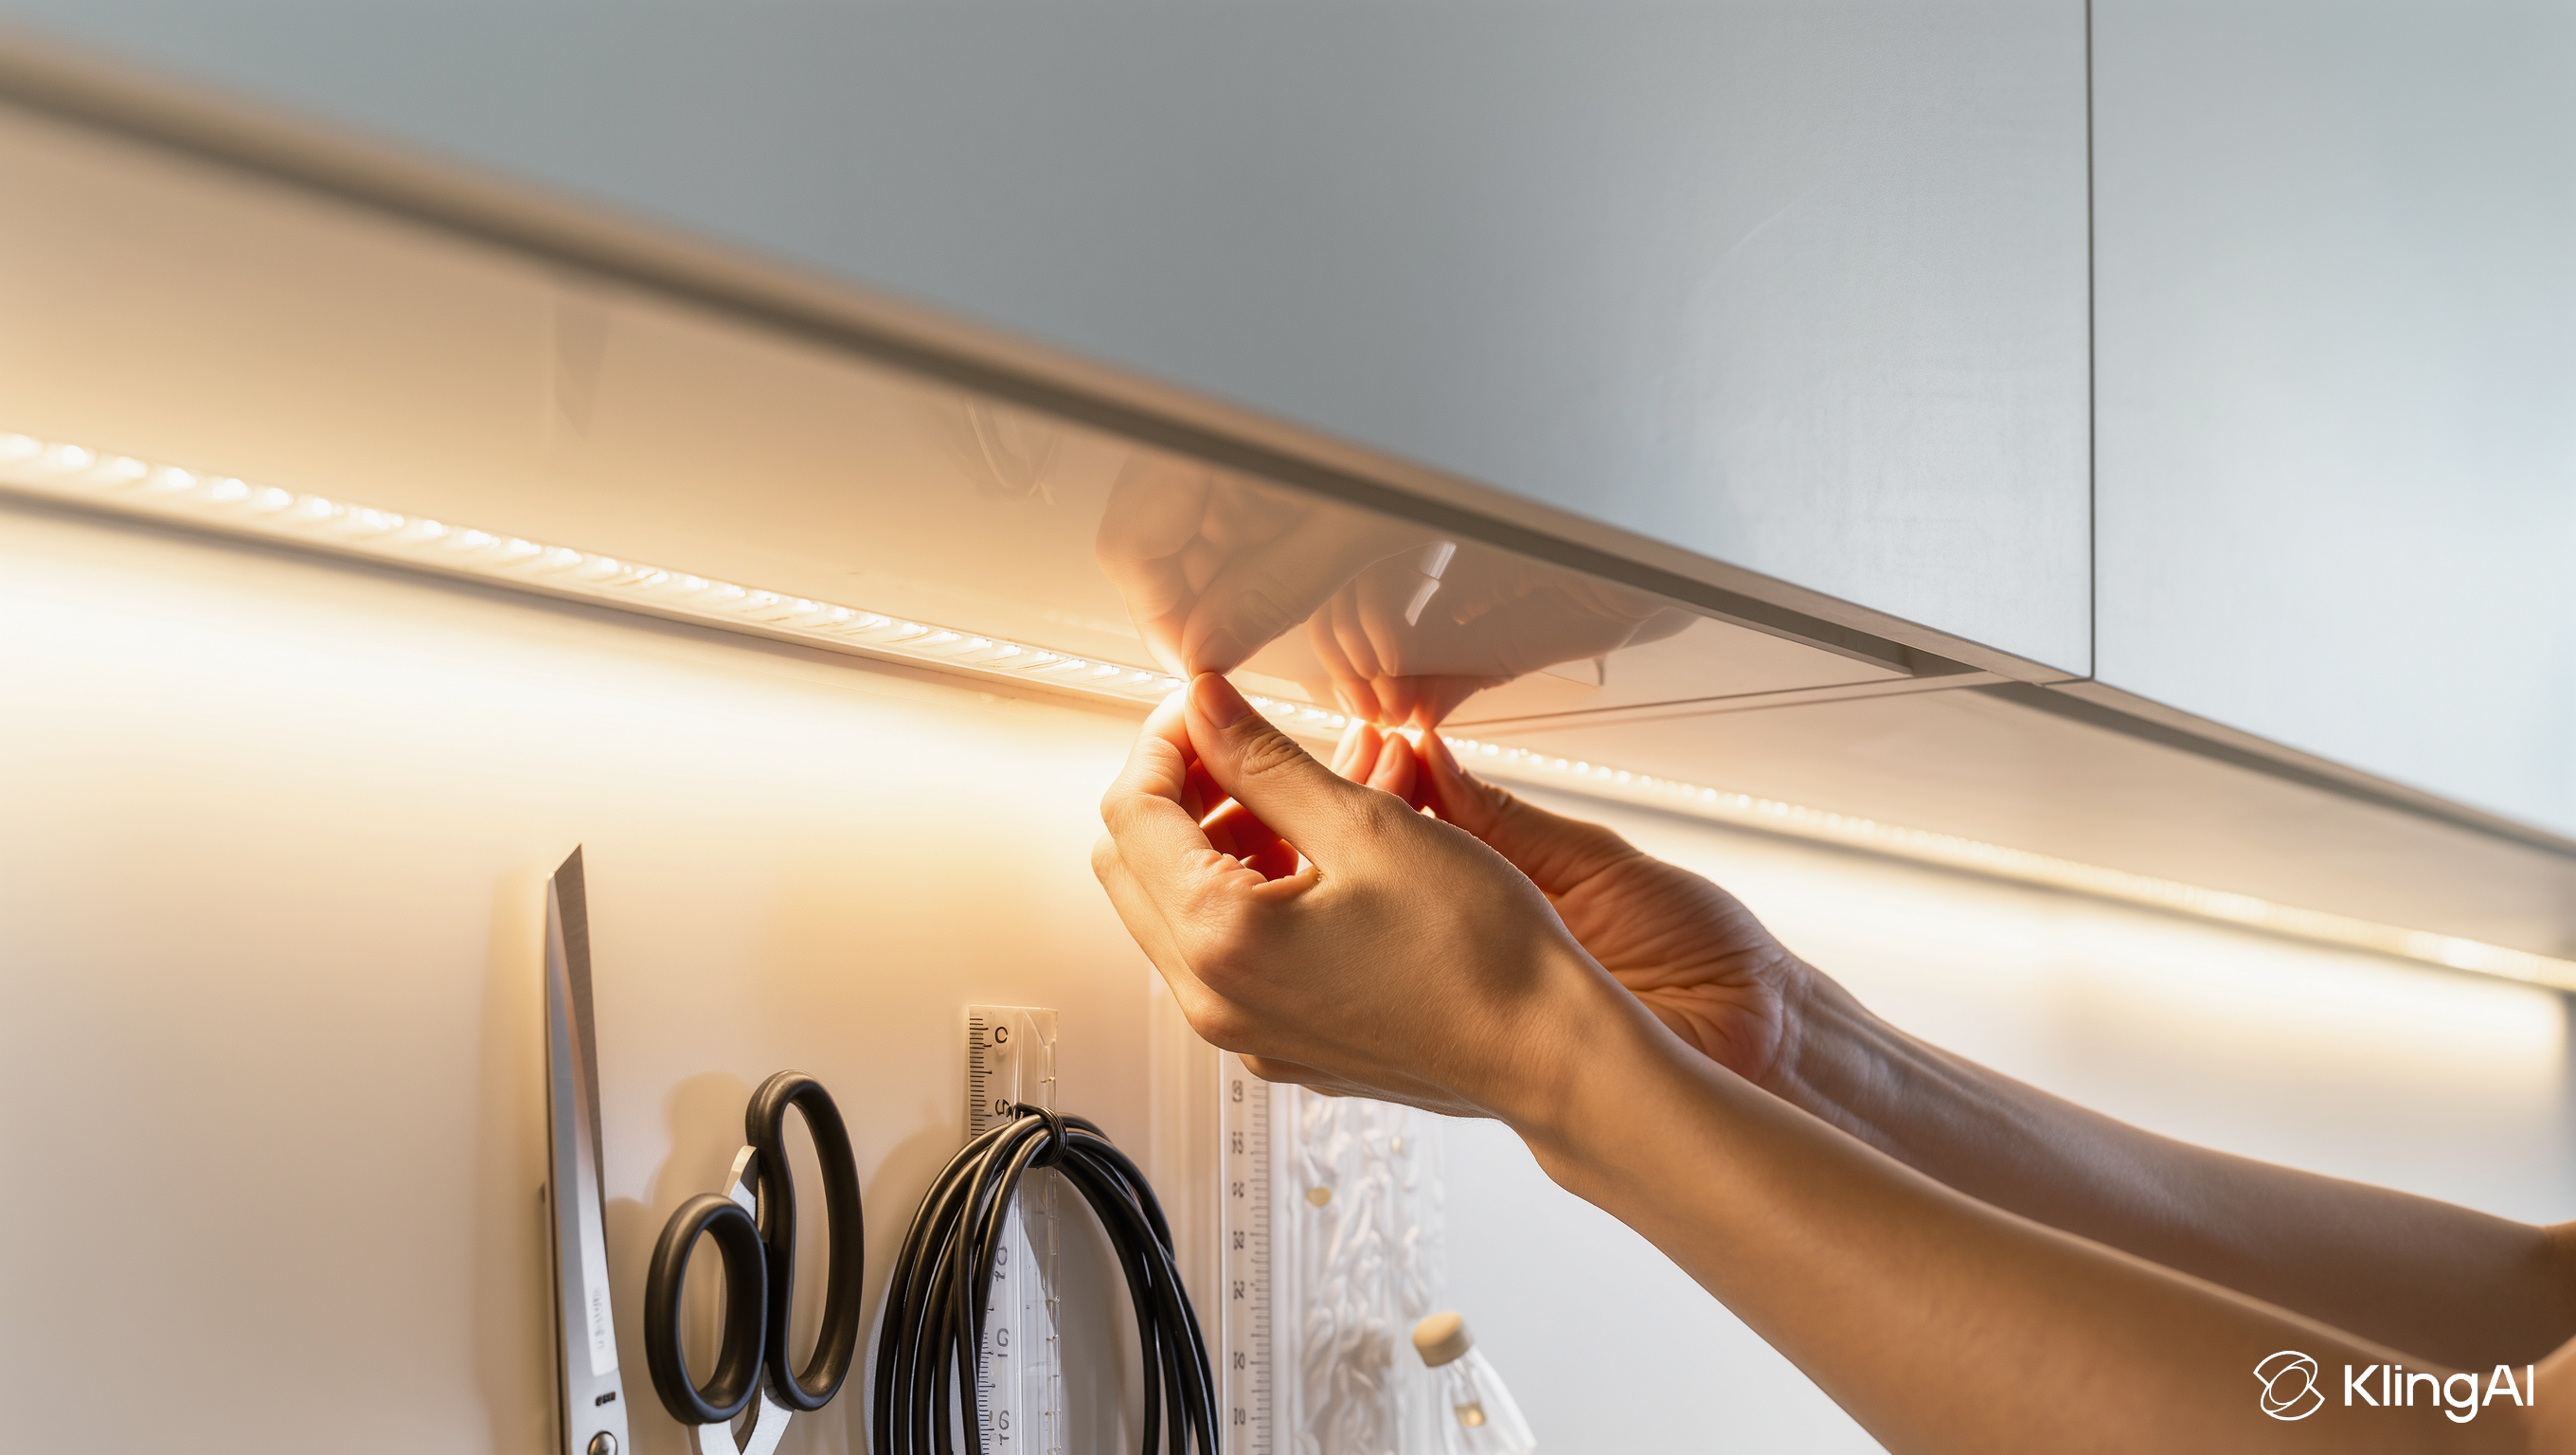
Step 5: Stick the LED Strip in Place
- Peel back the 3M adhesive backing a little at a time — do not remove it all at once.
- Press the strip firmly along your planned route, applying even pressure as you go.
- If using an aluminium channel, press the strip inside the channel first, then mount the channel to the surface.
- For ceiling cove lighting, use LED Cove Moulding to conceal the strip and create soft indirect light.
Pro Tip: Orient the strip so the LEDs face the ceiling or wall — the reflected light will be soft and diffuse, hiding the LED dots entirely.
Step 6: Connect the Power Supply and Test
- Connect the strip to the Controller/Dimmer (if using one).
- Connect the Controller to the Power Supply output.
- Connect the Power Supply to the mains.
- Switch on and test!
Connection order: Mains outlet → Power Supply → Controller/Dimmer → LED Strip
Warning: Always verify the + and − polarity before powering up. A reversed connection will prevent the strip from lighting — though it usually will not cause permanent damage.
Professional Tips
1. Feed Power from Both Ends
For runs longer than 5 metres, connect the power supply to both ends of the strip. This significantly reduces voltage drop and keeps brightness even throughout.
2. Never Leave Rolled-Up Strip Powered
If you have leftover strip, cut it off — do not leave it coiled and powered. Heat accumulates in a coil and will damage the strip over time.
3. Always Use an Aluminium Profile Channel
Especially for strips rated 10 W/m or higher — the channel dissipates heat effectively, greatly extending the lifespan of the LEDs.
4. Position the Power Supply Carefully
Place the PSU somewhere well-ventilated, accessible for maintenance, and never covered. Use an In-Wall Electrical Box if a flush, tidy finish is needed.
Pre-Installation Checklist
- Measured total run length
- Calculated power requirement (with 20% headroom)
- Power supply voltage matches strip voltage
- Surface is clean and dry
- Strip cut only at designated cut marks
- Polarity (+/−) verified before powering up
- Power supply placed in a ventilated location
Installation not going to plan? Need advice? Contact ArumStores — we’re happy to help at every step!